


Table of contents
Git which is a version control tool used to monitor and track changes in our files and push our source code to remote depository. Created by Linus Torvalds, It is a phenomenal tool to use, but becomes very challenging and daunting for newbies at first.
As the terminal spooks out a lot of people, It spooked me out at first, Then I got a grab over it by persisting myself over it.
So this tutorial will help you to get over that fear and will show you the basics of git and how to push your code to your GitHub repo.
Step1:
You need to have a Github account first. Go and signup there
After creating an account, create a new repository.
Step2:
Now go to git website and download git for windows/mac/linux and install it
After installing check git version in terminal with
git --version
Step3:
Now open the terminal/command prompt/git bash(recommended).
Create a directory and index.html file
mkdir folder-name
touch index.html
Now open current directory with vscode via terminal by
code .
There are two stages in git,
- Staging area:
The staging area is there to keep track of all the files which are to be committed. Files which are not added to the staging area will not be committed. 2. Committing the code
Now in terminal hit the following command one by one.
git init
git init must always be called in the folder the first time where we wish to include git functionalities and push that folder contents to remote github repositories.
By doing this command we will create a file called .git in that specified folder.
git add .
git add . will add all the files to staging area while
git add index.html
will only add index.html to the staging area.
git commit -m 'commit message'
We commit our files with the above command before pushing it to Github repo
git status
With git status we can find out information about which files are modified and what files are there in the staging area
Branching
A branch is a pointer to the latest commit in the Git repository. So after committing we create main branch with
git branch -M main
After All these lines of code, we go to VSCode and make a change in index.html. Then we again add and commit these files.
git add .

git commit -m "commit message"
This process goes on and on till we are satisfied with our code.
Now we are ready for pushing it to GitHub repo.
After creating the GitHub repo, copy its URL and paste it in terminal.
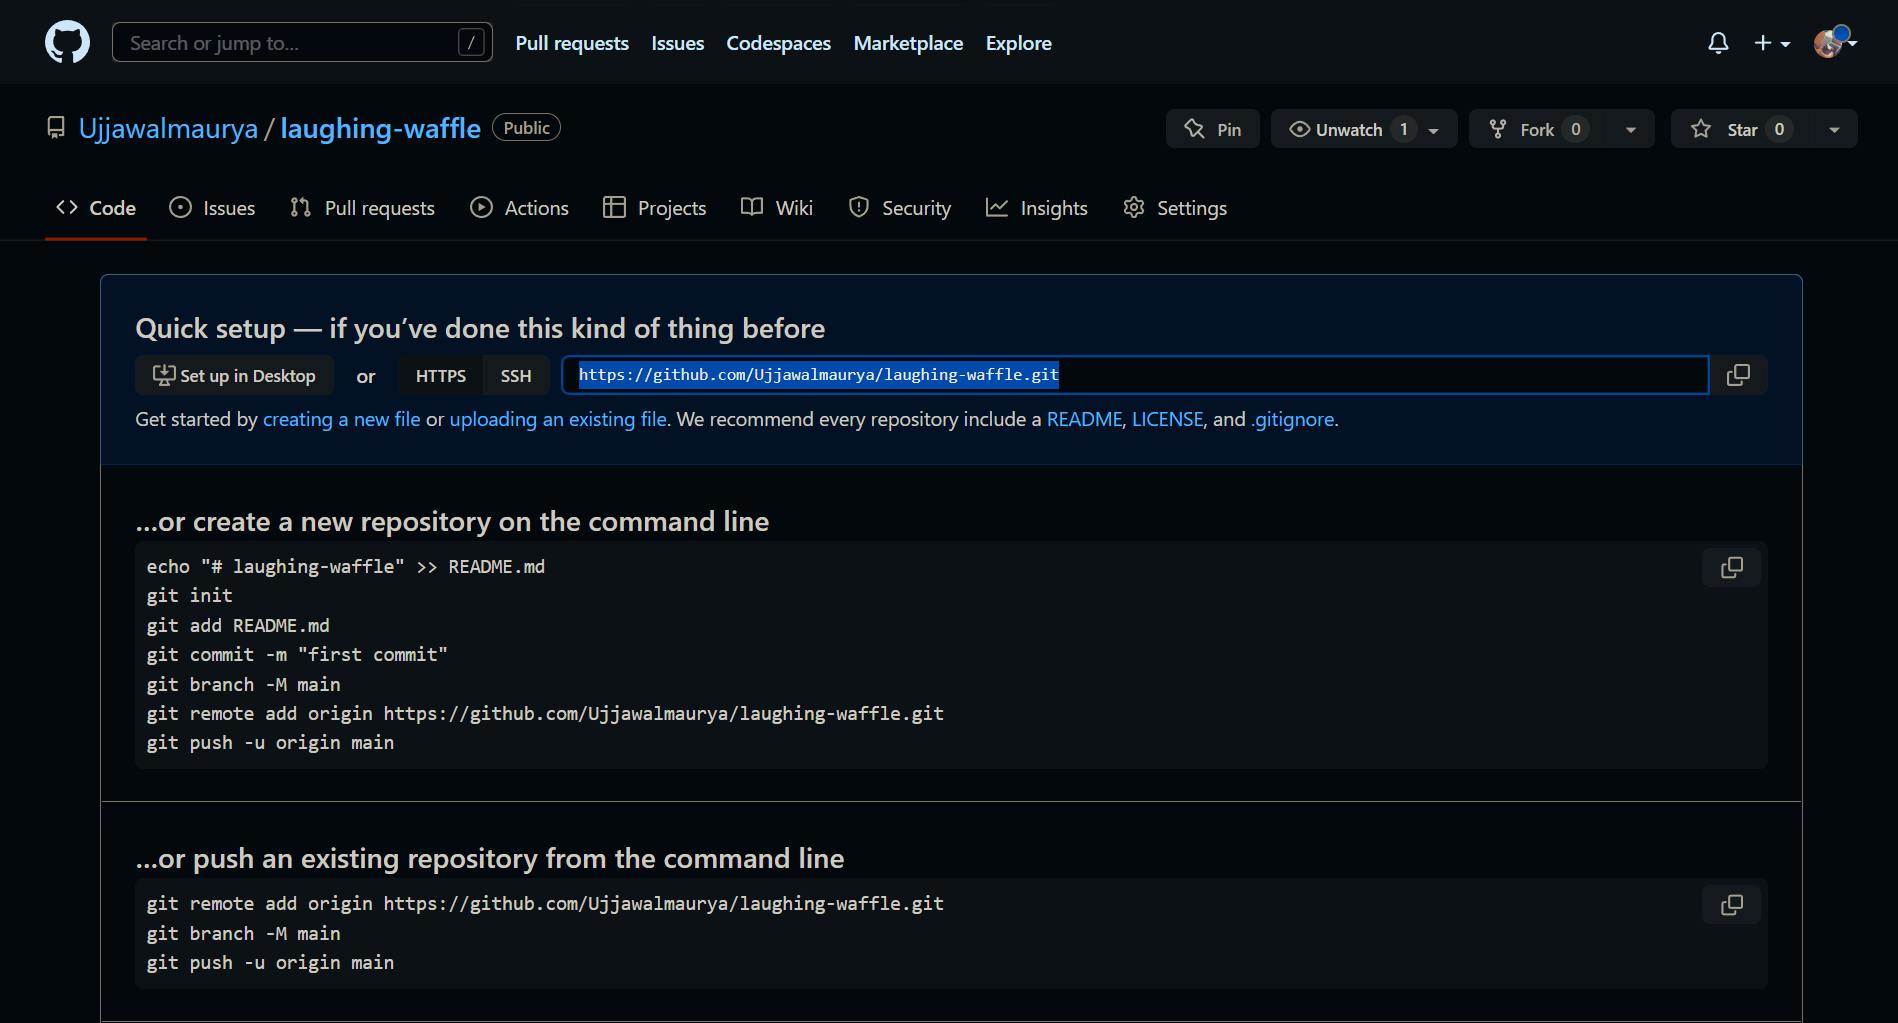
git remote add origin REPO_URL_HERE
Then after that we push it to GitHub using this command
git push -u origin main
The terminal will ask for GitHub username/email and password so enter that in terminal. It will ask only once after that no need of that
So we have successfully pushed our code to GitHub repo using git.
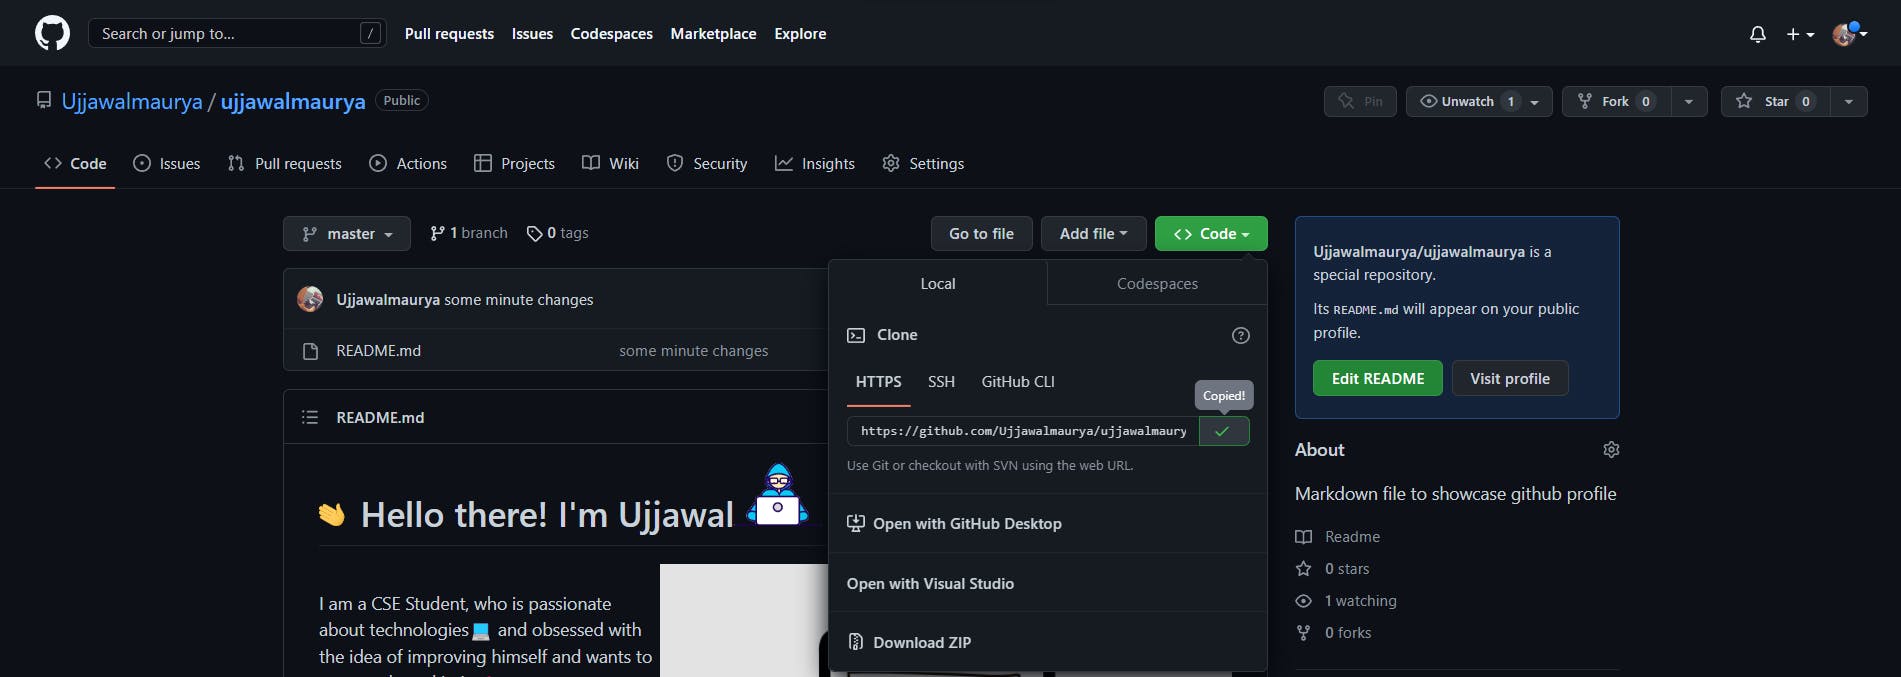
We can clone/download that remote GitHub repository to our local machine with
git clone REPO_URL
But these information are just the tip of the iceberg in terms of concepts and usecases for git.
Git has stuff like branch merging, git stash, git checkout, git pull, git log and a lot more advanced stuff.